There is nothing more rewarding than standing in the greenhouse on a warm summer’s evening eating the fruits of your labour. Hand picked straight from the vine. But make no mistake, growing the best tasting tomatoes does require daily discipline and commitment, if grown indoors.

Selection of tomato plants
Growing from seed couldn’t be easier. Sow the seed via the seed packet instructions and place on a warm windowsill in your home until germination – expensive heated propagators are not needed.
However, this year I’ve cheated a tiny bit; well not intentionally. Every year we sow more than we need, and this year was no exception. So all my plants were started off by my gardener friends and offered to me when they were about 2 inches tall. And since I’d not set any of mine away, at the time. It seemed like such a shame to waste these good quality plants, so I accepted without hesitation.
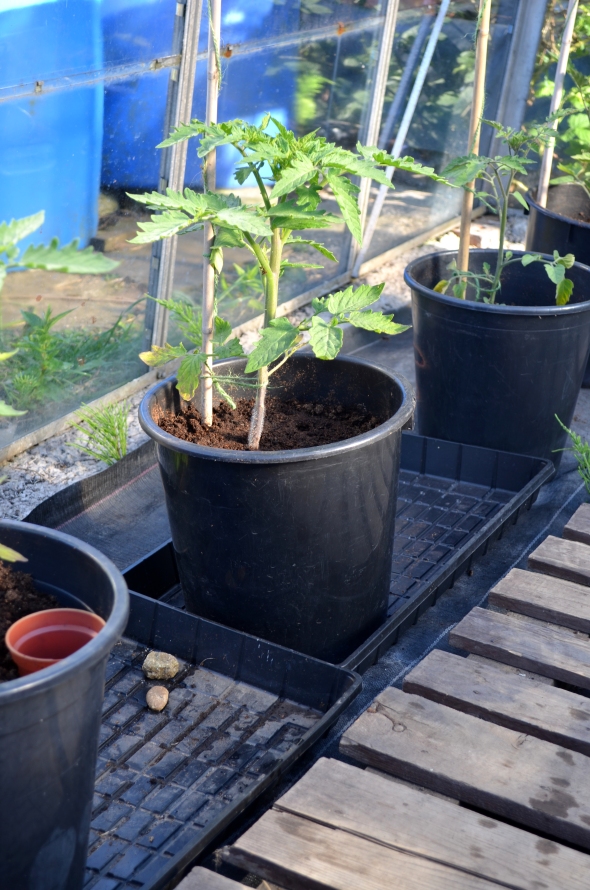
I continued to grow these on in a heated greenhouse. Repotted them twice, so as not to stunt growth and now they are 25cm tall and ready for their final positions.
The varieties growing are Moneymaker, Alicante ( a super sandwich tomato ) and Yellowstuffers.
I filled, no less than 7.5litre pots, with good quality multi-purpose compost. Making sure any  previously used pots were washed and sterilized first. Should the pots be any smaller in size, keeping the compost moist at all times may prove difficult in a greenhouse situation due to the heat.
Tip: I find that a large plastic dust-bin filled with water and a few swigs of disinfectant, makes washing large pots seriously easy. The bins themselves are readily available to purchase in most DIY stores.
–
A frequently asked question I hear all the time is, “I’ve been told to pinch out the sideshoots, what are these ? ”
This depends on which cultivar you have chosen to grow. The two main growth types are indeterminate (also known as cordon) or determinate (also known as bush). Should you choose to grow a bush variety, any sideshoots should be left on the plant otherwise your crop will be small. However, on a cordon variety these sideshoots are best pinched out, as to leave them on takes much needed energy away from the main plant, resulting in a poorer quality crop. Our aim is to grow a single-stemmed plant. So its great for us that these infamous sideshoots are so easy to spot, as they grow between the leaf and main stem. But remember, these need constant removal because new ones form throughout the growing season.

Sideshoots – pinch these out.

Sideshoots – removed.
Ok, now that the plant is cleaned of any sideshoots, it’s time to plant it.
Make a hole deeper than the pot it came from, and slightly off centre. The aim here is to bury the plant up to its first set of leaves, which should have been removed. If not, remove them now. The area below will send out a second lot of roots, known as feeder roots. These are short and look for food, such as high potash feeds which should be applied once a week when the first truss ( flower stem) has set. The main (first) roots are long and search for water. Which takes me to the reason why I planted off centre. I like to sink a small pot beside the root ball, this helps to get more water to those longer, thirstier roots.


Tip: Although the flowers self pollinate, those grown in the greenhouse do benefit from a gentle shake from time to time.
The plant is going to need support, and for this I use canes. Any cane length will do. I ran out of my usual long canes so instead of rushing to the nearest shop. I found a few 4ft lengths in the shed and some string. Being careful not to pierce the rootball I pushed the cane in until it reached the bottom. Cut a length of string and tied it around the top of cane, pulled it taut slightly and secured it to the top of the greenhouse. Then gently tied-in the plant to the cane using a figure of eight and finished by watering in.

Attach like so
Figure of eight tie 
Water little and often, compost should be moist at all times. This will help to prevent fruit splitting and blossom end rot. Easier said than done sometimes, I know. As the season progresses do remember to remove any lower leaves around fruit. This helps to ripen fruit, increase air-flow and minimise the risk of disease. And after the 6th truss has set, cut off the top of plant to give the remaining fruit a chance to ripen.
Companion Planting
Oh, and don’t forget about companion planting, a part from the aesthetics, I think it’s a very useful way of controlling pests. I’ve decided to grow marigolds and basil alongside the tomatoes. The french marigolds will give off a strong odour which the green and blackfly hate. Whereas, the basil will help to ward off whitefly, which is starting to become a big problem – must be the weather. Don’t forget, it can also help to attract beneficial insects such as ladybirds and lacewings. If it’s something you don’t do, perhaps it’s worth thinking about.

Final spacing

French marigold ‘roulette’
Happy growing !!


 The tomatoes have finally moved to their final positions in the greenhouse.
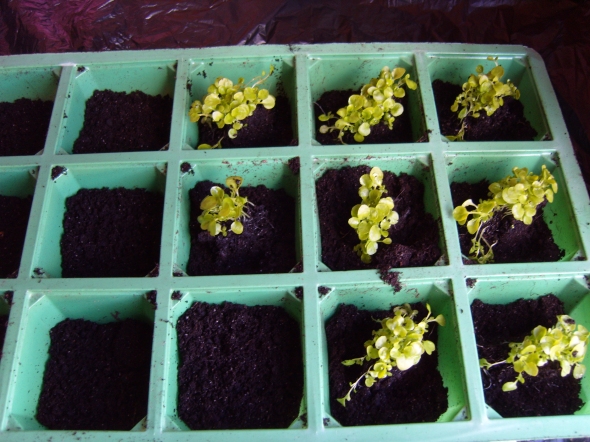
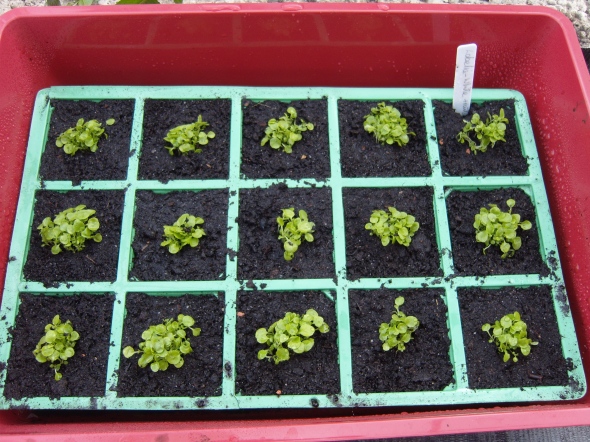
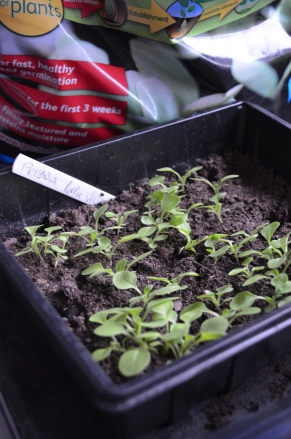
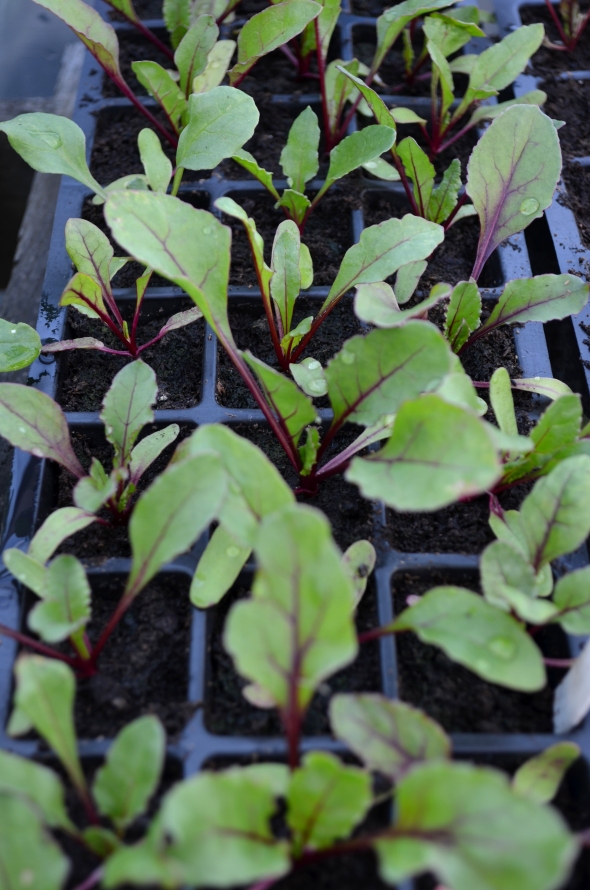 This is the happiest of all the trays of beetroot. The rest are in a mood because I’ve pricked them out to late – beetroot hate having their roots disturbed.
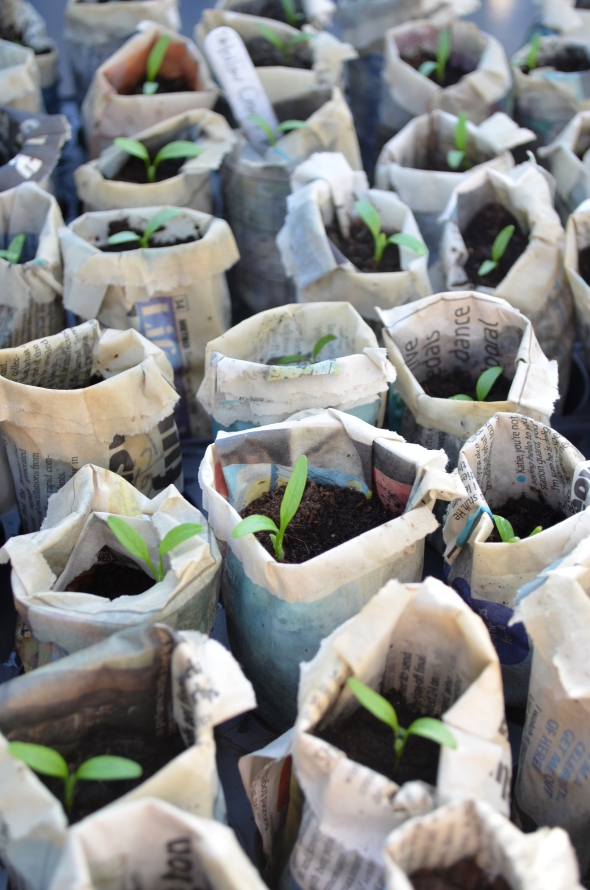 The parsnips are doing fab – trying to keep the temps down as growth will stop – veg seedlings don’t like extreme temps.
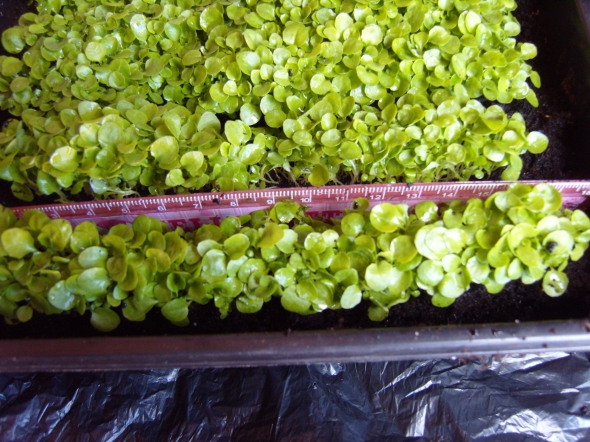
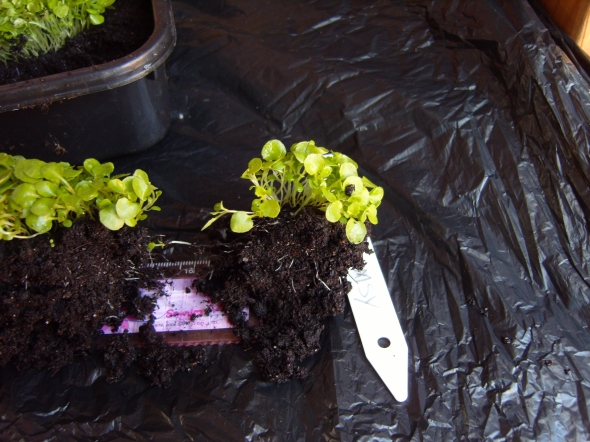
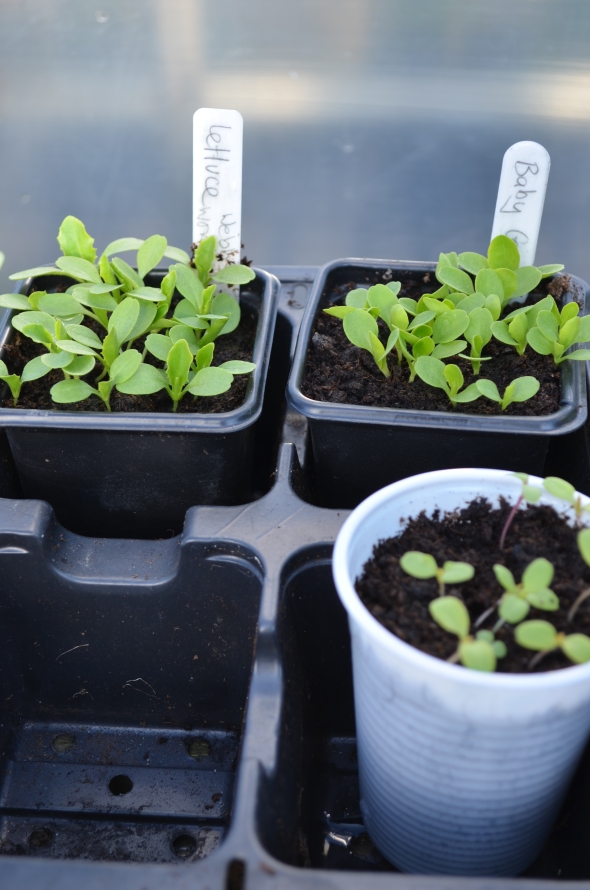 Looks like I’m going to have a glut of Lettuce – I do the same thing every year. However, I’ve a great little soup recipe – Green Herb Soup. My boss would make this for the guests, when I use to lived at the Lakes, it’s fab !
 Basil. It’ll be growing alongside the tomatoes in the greenhouse, as it doesn’t grow very well outside…just goes all black and withers – just too cold.
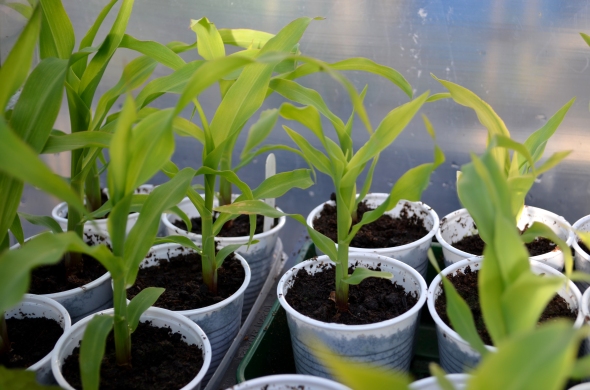 Mini-pop (baby corn) on the left and Sweetcorn on the right. Both planted differently – Mini-pop in single rows 20ins apart. Sweetcorn in blocks of four 16ins each way. Never had a bad crop yet !
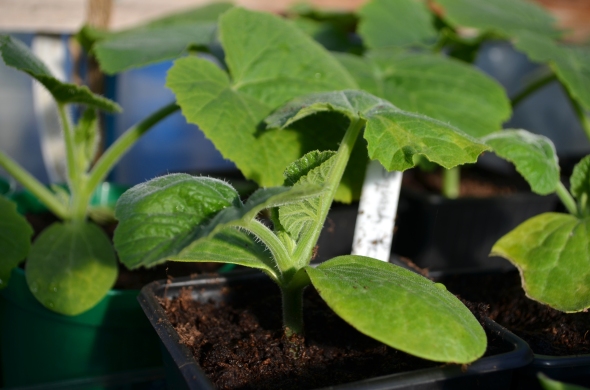 Squash, planting these alongside my pumpkins for Halloween.
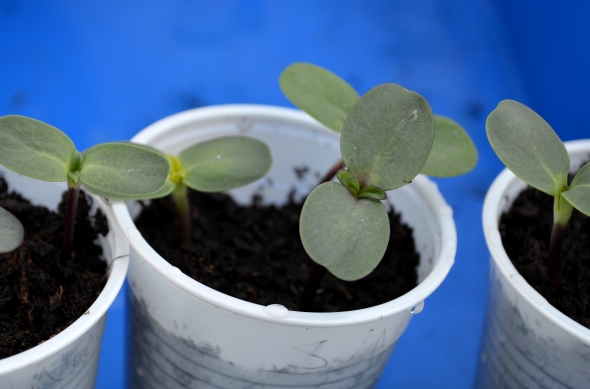 Giant Sunflowers, well, not at the moment. Soon, I hope…
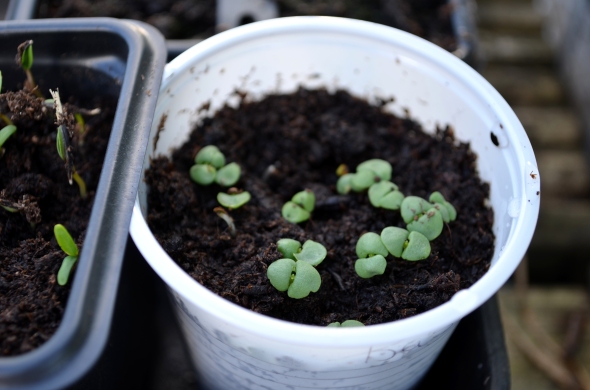
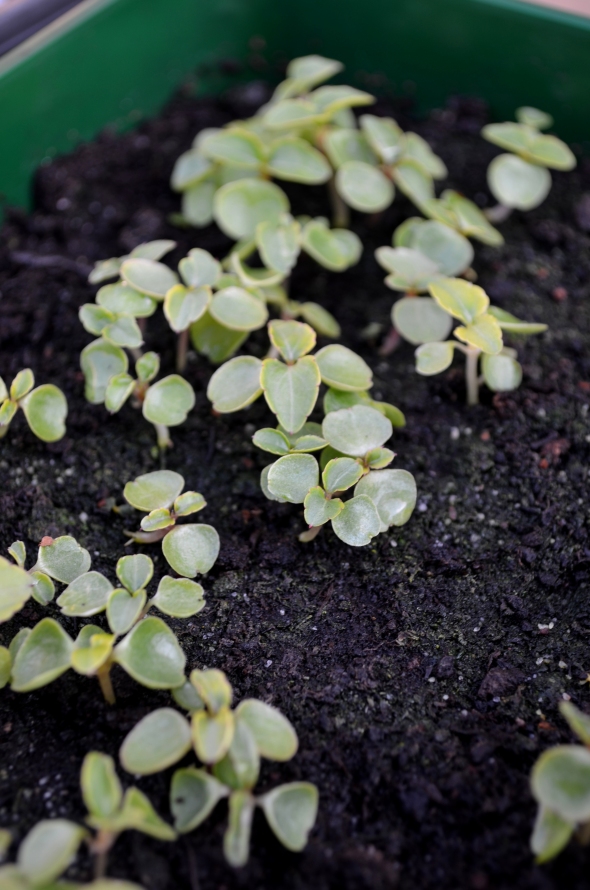 Busy Lizzies, sowed them quite late really but it doesn’t matter. Should be ready for the hanging baskets by the end of June if I prick them out now.
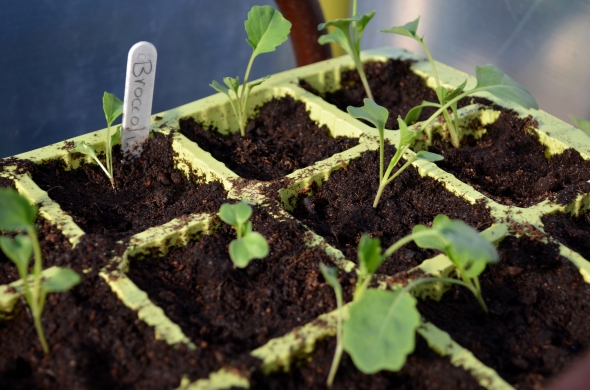 I don’t tend to grow broccoli but thought, what the hell give it another go.
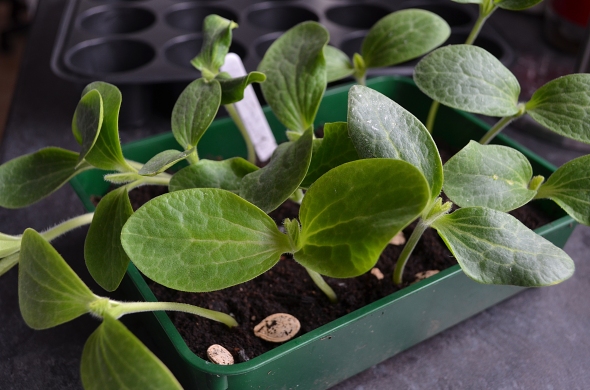
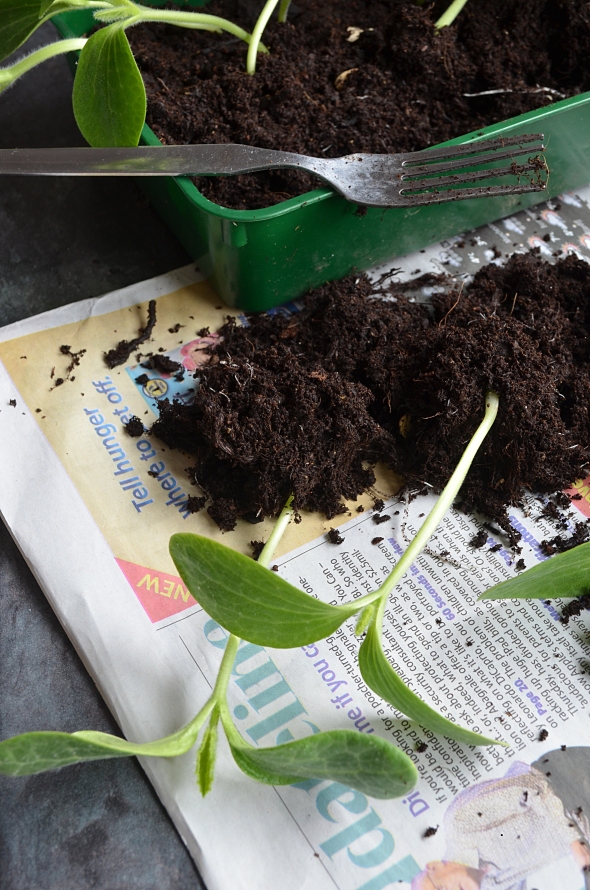
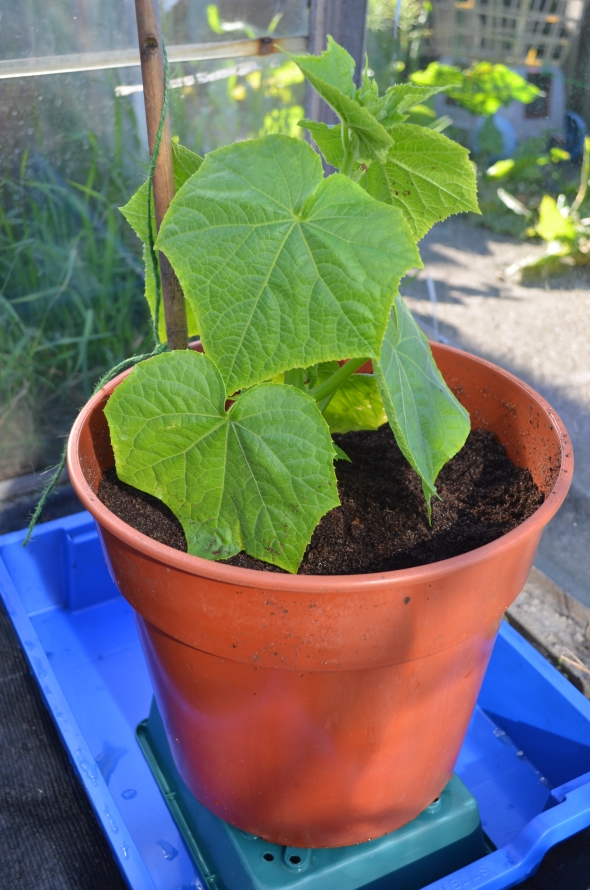 Ha, my cucumber plant, La Diva. These are murder for getting powdery mildew but if you catch it early…spray the leaves with diluted milk and water and this does help to reduce the damage. lol Anno milk and water, seriously this does work. One solution is to UP the humidity – the blue tray will be filled with water to keep the immediate area around the plants, as humid as possible. Lets see what happens !!
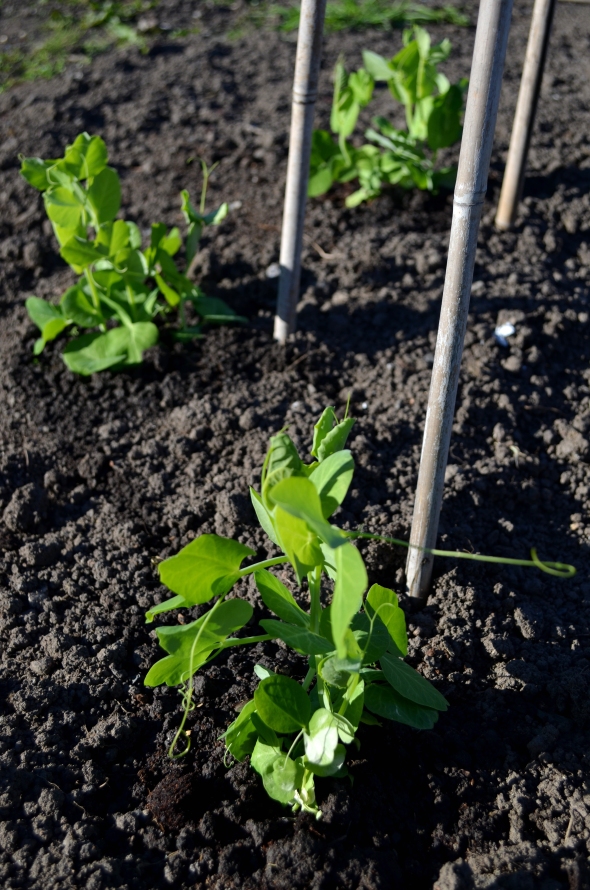 I’ll have a P please bob….yes, you can’t have an allotment without a wigwam of peas. The trouble is, the pea moth loves them too. Fleece may be the answer.
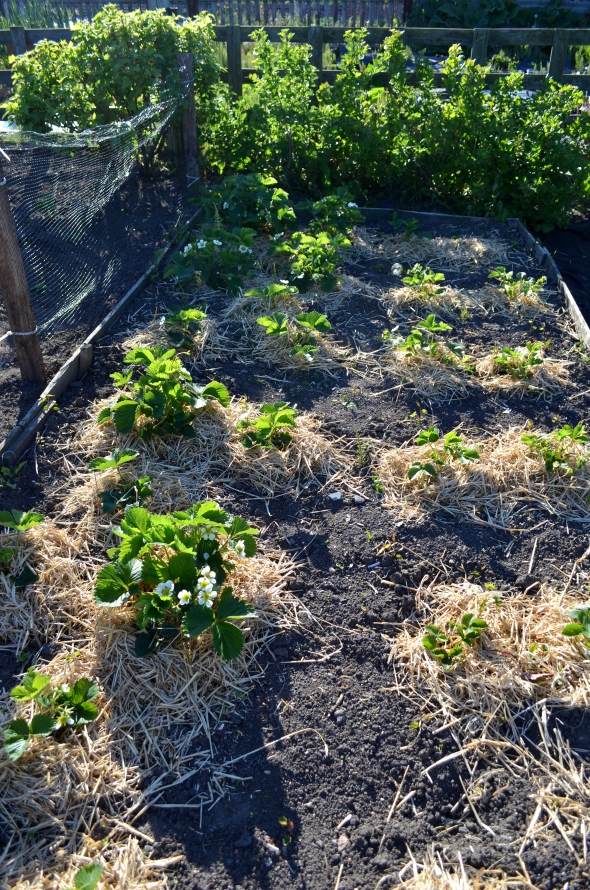 I can’t wait for these to ripen. Bought these strawberry plants from a nursery down south – on the left a variety called Vibrant and on the right Marshmello. One thing is for sure, I’ve never seen plants so big, the flowers are massive. 🙂 🙂
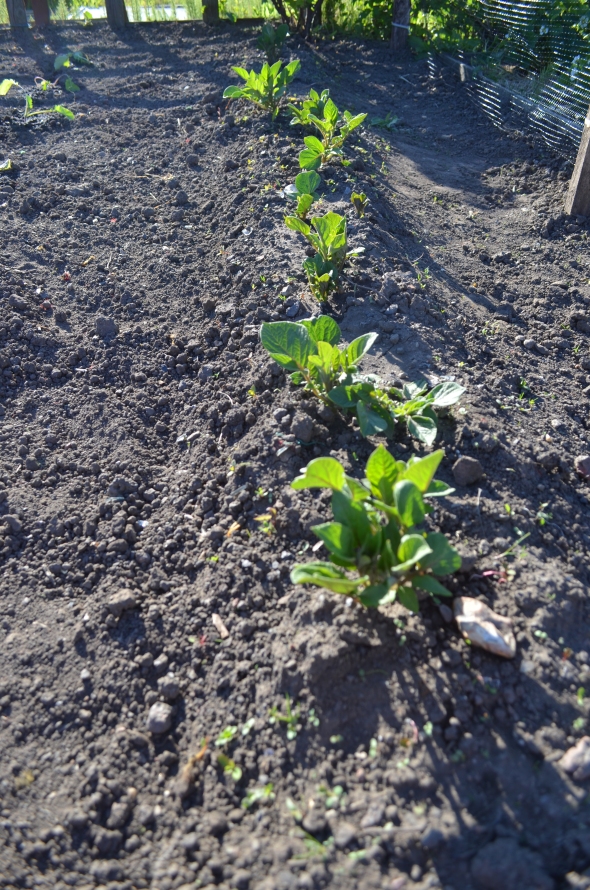 Potatoes !! Main crop – Rooster, nice spuds and versatile.
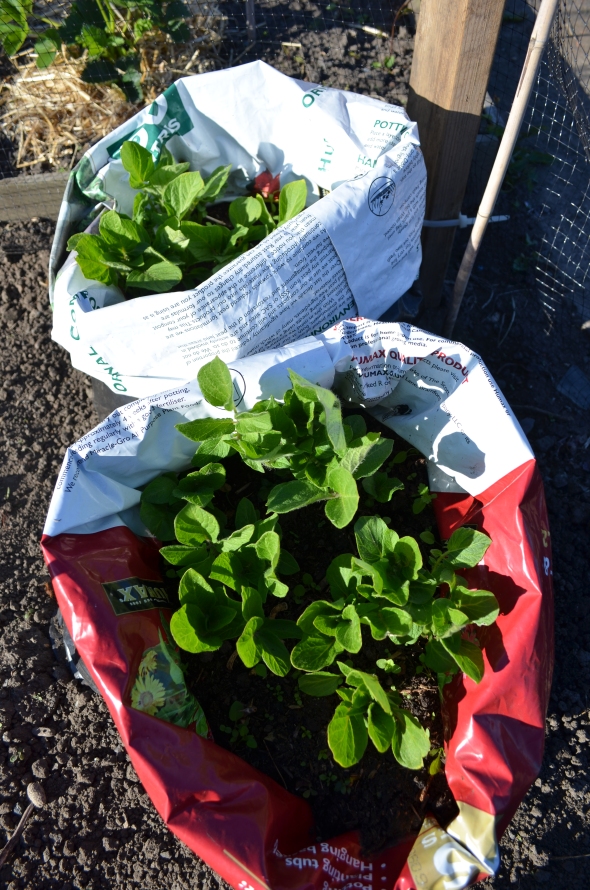 More potatoes !! haha. First earlies – Anya, love these…nice nutty flavor great with salads.
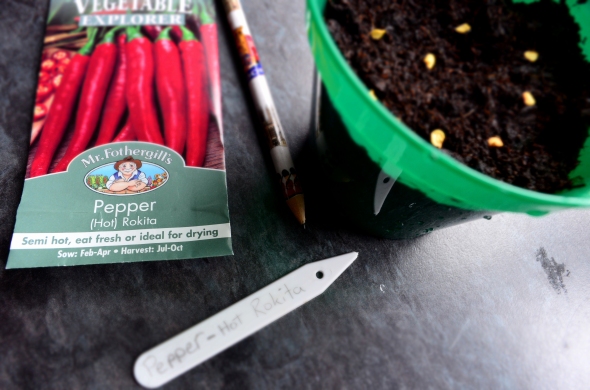
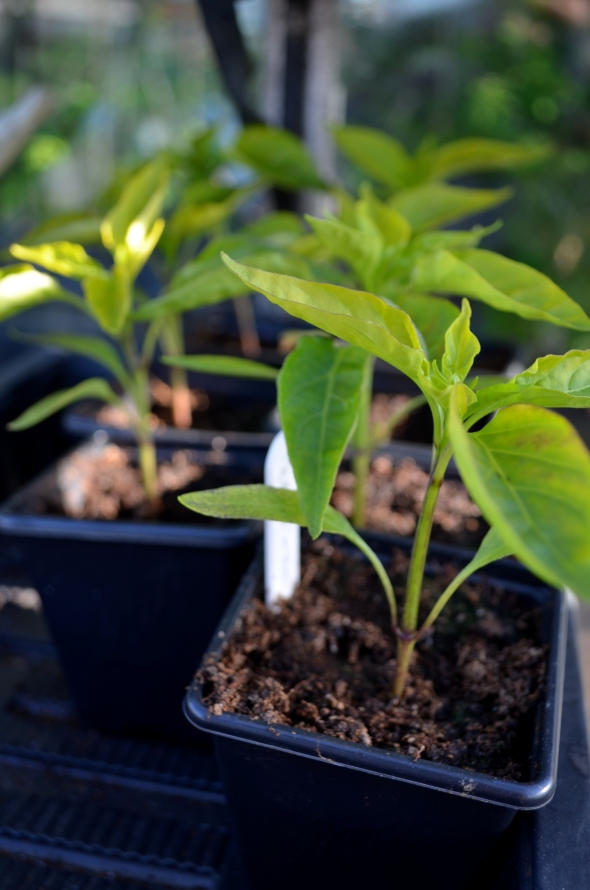 Peppers, going to pot these on tomorrow. They’re not happy because their roots are too hot.
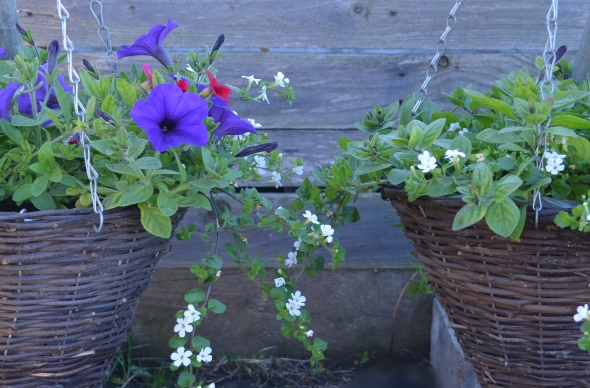 A mates baskets – filled with bacopa, million bells and surfina. Think I only planted them up 2 weeks ago, already they’ve doubled in size. 🙂 Fantastic !!